
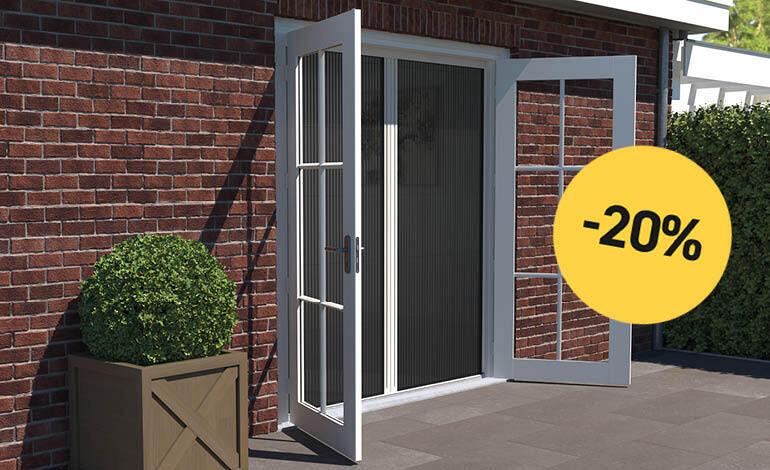
Lente Deals
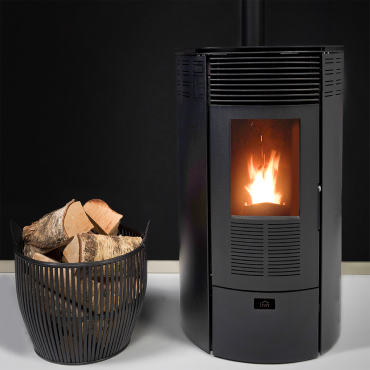

1.999,-
1.499,-
Op voorraad

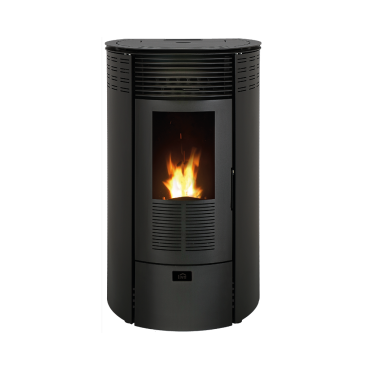
1.499,-
1.125,-
Op voorraad


1.699,-
999,-
Op voorraad


1.499,-
899,-
Op voorraad
699,-
525,-
Op voorraad


399,-
199,-
Op voorraad
1.499,-
1.125,-
Op voorraad


2.199,-
1.299,-
Op voorraad
1.299,-
975,-
Op voorraad


1.149,-
859,-
Op voorraad


139,-
74,-
Op voorraad


 2 jaar Livn garantie
Inspiratie & tips
.png?1701681768=)
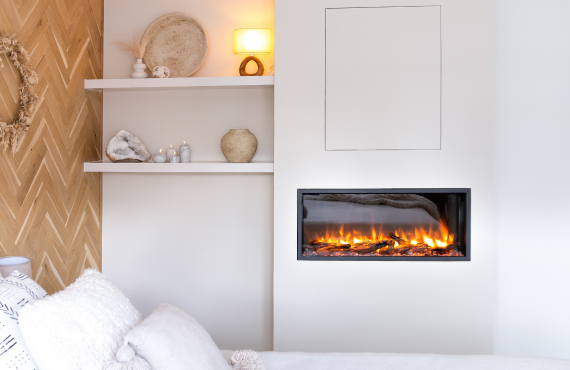
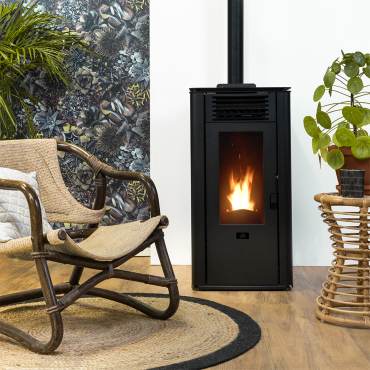
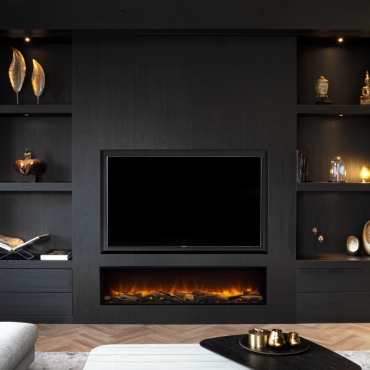
DIY: moderne haardombouw maken
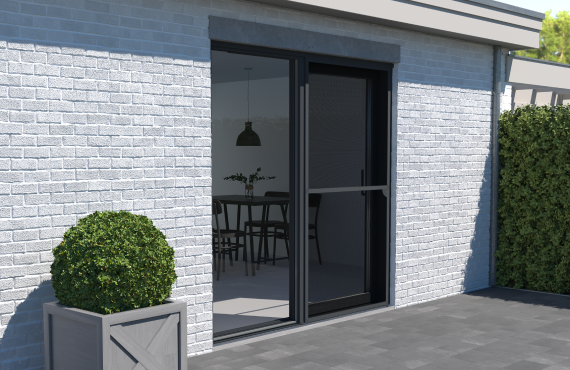
Keuzestress? Deze deurhor past bij jou!
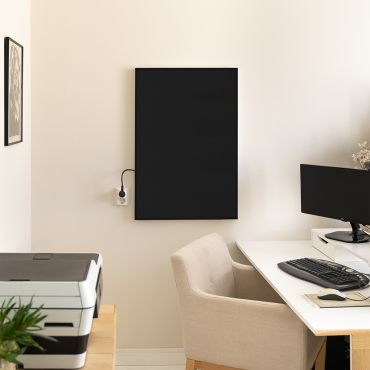
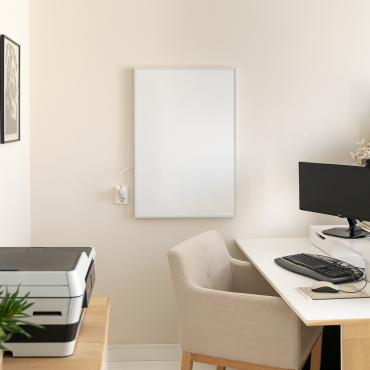
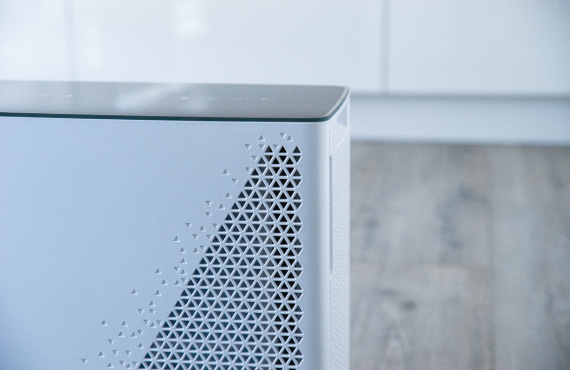
Wat zijn de voordelen van een warmtepaneel?


Livn
made easy
Met Livn willen we jou helpen, door je te voorzien van gemak. Niet voor niets is Made Easy onze lijfspreuk. We maken de klus voor jou gemakkelijk door je te helpen met duidelijke instructies, handleidingen en/of montagevideo’s. We willen jou laten ervaren dat zelfs jij het kan, degene die net zo onhandig is als wij. Onze producten zijn simpel, zonder teveel opsmuk en gemakkelijk in gebruik.